
How to Use SocialOomph: A Comprehensive Guide
Introduction
SocialOomph is a powerful social media management tool that can help you automate and streamline your social media marketing efforts. With SocialOomph, you can schedule posts, create queues, and monitor your social media accounts all from one platform. In this blog post, we will provide a comprehensive guide on how to use SocialOomph to manage your social media accounts.

Scheduling Posts
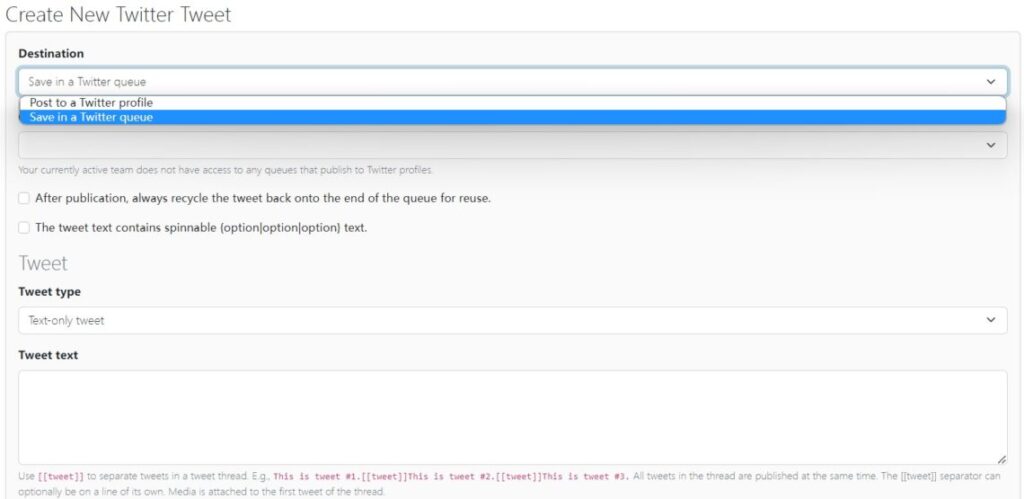
Scheduling posts is one of the most useful features of SocialOomph. It allows you to create and schedule posts in advance, so you don’t have to worry about posting in real-time. To schedule a post on SocialOomph, follow these steps:
- Log in to your SocialOomph account.
- Click on the “Create a New Post” button.
- Write your post and select the social media accounts you want to post it on.
- Choose the date and time you want the post to be published.
- Click on the “Schedule Post” button.
Your post will now be scheduled and will be automatically published on the date and time you specified.
Creating a Queue
Creating a queue is another useful feature of SocialOomph. A queue is a list of posts that are automatically published at a set interval. For example, you can create a queue of posts that are published every day at 9 AM. To create a queue on SocialOomph, follow these steps:
- Log in to your SocialOomph account.
- Click on the “Create a New Queue” button.
- Give your queue a name.
- Choose the social media accounts you want to post to.
- Select the interval at which you want your posts to be published.
- Click on the “Save” button.
Your queue is now created, and your posts will be automatically published at the interval you specified.
Adding Posts to a Queue
Once you have created a queue, you can add posts to it. To add posts to a queue on SocialOomph, follow these steps:
- Log in to your SocialOomph account.
- Click on the “Add Content” button.
- Write your post and select the social media accounts you want to post it on.
- Click on the “Add to Queue” button.
- Choose the queue you want to add the post to.
- Click on the “Add” button.
Your post is now added to the queue, and it will be automatically published at the interval you specified.
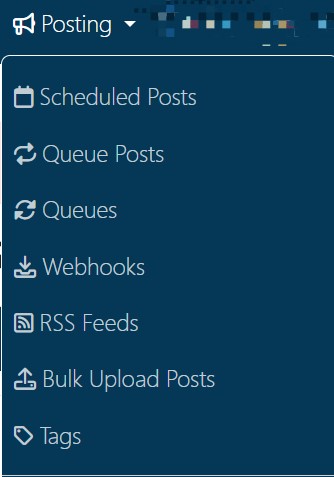
Checking Queues
You can easily check your queues to see what posts are scheduled to be published. To check your queues on SocialOomph, follow these steps:
- Log in to your SocialOomph account.
- Click on the “Scheduled Posts” button.
- Choose the queue you want to check.
- You can now see what posts are scheduled to be published in that queue.
Monitoring Your Social Media Accounts
SocialOomph also provides you with an easy way to monitor your social media accounts. You can easily view your mentions, direct messages, and retweets on Twitter, as well as your comments and messages on Facebook.
To view your mentions, direct messages, and retweets on Twitter, follow these steps:
- Log in to your SocialOomph account.
- Click on the “Twitter Mentions” button.
- You can now see all of your mentions, direct messages, and retweets in one place.
To view your comments and messages on Facebook, follow these steps:
- Log in to your SocialOomph account.
- Click on the “Facebook” button.
- You can now see all of your comments and messages in one place.
Analytics
SocialOomph also provides you with detailed analytics for your social media accounts. You can view your follower growth, engagement, and more.
To view your analytics on SocialOomph, follow these steps:
- Log in to your SocialOomph account.
- Click on the “Analytics” button.
- You can now view your analytics for each of your social media accounts.
Conclusion
In conclusion, SocialOomph is a powerful tool that can help you manage your social media accounts more efficiently. By scheduling posts, creating queues, and monitoring your accounts, you can save time and focus on other aspects of your business. We hope this guide has been helpful in showing you how to use SocialOomph effectively. Try it out and see how it can benefit your social media marketing efforts!